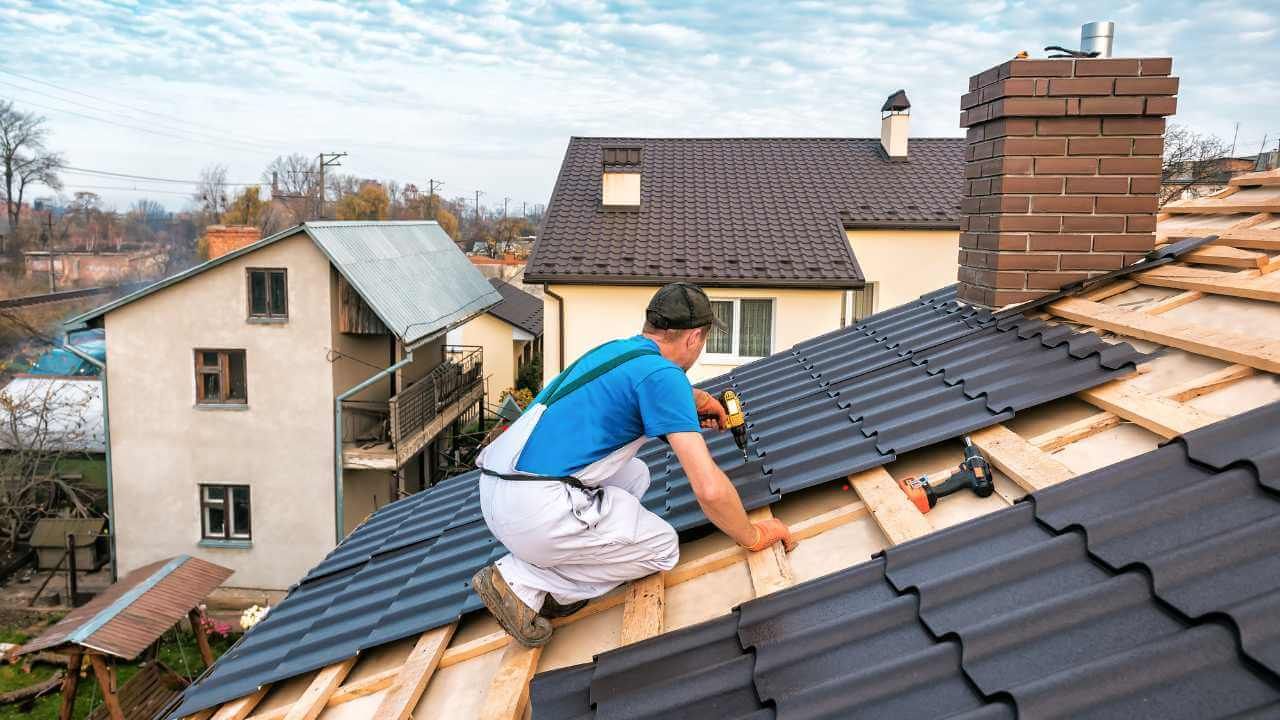
Roof Underlayment Installation Tips: What Homeowners Need to Know

When it comes to roofing, one of the most important yet often overlooked components is roof underlayment. While it might not be visible after your new roof is installed, underlayment plays a crucial role in protecting your home from water damage, leaks, and even ice buildup. If you're a homeowner in Oneonta, AL, planning a roofing project, understanding the basics of underlayment installation can save you time, money, and headaches down the road.
What Is Roof Underlayment?
Roof underlayment is a layer of material installed between the roof deck and the roofing material, such as shingles or tiles. Think of it as an extra line of defense for your roof. It provides a waterproof barrier that protects your home from rain, snow, and other elements that can cause damage over time.
There are two common types of roof underlayment:
- Felt Underlayment: This is the most traditional type. It’s made from a combination of fiberglass or organic materials, which are saturated with asphalt to make it waterproof.
- Synthetic Underlayment: A newer option, synthetic underlayment is made from plastic materials and is often considered more durable and water-resistant than felt.
Each type has its benefits, but the choice ultimately depends on your budget, local climate, and personal preferences. A roofer Oneonta AL specialist can help guide you in choosing the best material for your specific needs.
Why Is Roof Underlayment So Important?
You might be wondering, “Why do I need an underlayment if I already have shingles?” Well, here are a few reasons why it’s an essential part of any residential roofing system:
- Extra Protection Against Leaks: Underlayment acts as a secondary waterproof barrier. If your shingles get damaged or begin to deteriorate over time, the underlayment ensures your home stays dry.
- Prevent Ice Dams: In colder climates, underlayment helps prevent ice dams by providing a barrier against ice buildup on your roof. This can be especially important in areas like Oneonta where winters can be harsh.
- Improves Durability: The underlayment protects the roof deck from harsh UV rays, reducing the chance of damage to the roof structure.
- Helps with Roof Ventilation: Proper installation of underlayment can also help with roof ventilation, allowing moisture to escape more effectively and preventing mold growth.
Tips for Proper Roof Underlayment Installation
Now that you understand the importance of roof underlayment, let's go over some tips to ensure it's installed correctly:
1. Choose the Right Underlayment Material
The first step is selecting the right material for your needs. As we mentioned earlier, felt and synthetic underlayment are the two main options. If you're in a region with heavy rainfall or extreme weather conditions, synthetic underlayment might be the better choice due to its superior durability and water resistance.
2. Ensure a Dry and Clean Roof Deck
Before installing the underlayment, make sure the roof deck (the wooden surface beneath your shingles) is dry and free from debris. Any moisture or dirt can interfere with the adhesion of the underlayment and lead to future issues like mold growth or improper sealing.
3. Overlap the Edges
When laying down underlayment, be sure to overlap the edges by about 4 to 6 inches. This will prevent water from slipping between seams and potentially causing leaks. Always follow the manufacturer’s guidelines for the proper overlap.
4. Apply the Underlayment in Layers
Start at the bottom of the roof and work your way up, installing the underlayment in horizontal layers. This ensures that water flows over the seams instead of potentially seeping under them. If you're installing multiple layers, always stagger the seams for added protection.
5. Secure the Underlayment Properly
Use roofing nails or staples to secure the underlayment to the roof deck. Be sure to space them correctly, as improper fastening can cause the underlayment to shift or tear. Make sure each nail or staple is driven in just enough to hold the underlayment in place, but not so much that it damages the material.
6. Install a Drip Edge
Adding a drip edge along the eaves of your roof is essential. This metal flashing helps direct water off the roof and into the gutters, reducing the risk of water damage at the edges of your roof where leaks are most likely to occur.
Conclusion: Protect Your Home with Quality Installation
Proper installation of roof underlayment is a crucial part of ensuring your roof remains durable, weather-resistant, and protective. Whether you're replacing your roof or installing a new one, make sure to choose the right materials, overlap the edges, and follow the correct steps to install underlayment. If you're not sure where to start, a trusted roofer can help with both material selection and installation.
Don’t cut corners when it comes to protecting your home. The quality of your roof underlayment installation will directly impact the longevity and performance of your entire roofing system. If you're ready to upgrade your roof or have questions about residential roofing options, reach out to a trusted professional today.
To learn more about roof underlayment and how it can protect your home, contact a local expert today!
Ready to work with Royal Roof Contractors?
Let's connect! We’re here to help.
Send us a message and we’ll be in touch.
Or give us a call today at (205) 274-7663

